Categories


Imagine you’ve just come up with a groundbreaking idea for an app or product. You’re excited, ready to build the next big thing, but there’s a catch: you can’t risk pouring months or years of effort and resources into a project without knowing whether it’ll succeed. How do you test your idea without the huge financial burden? This is where building an MVP (Minimum Viable Product) comes in.
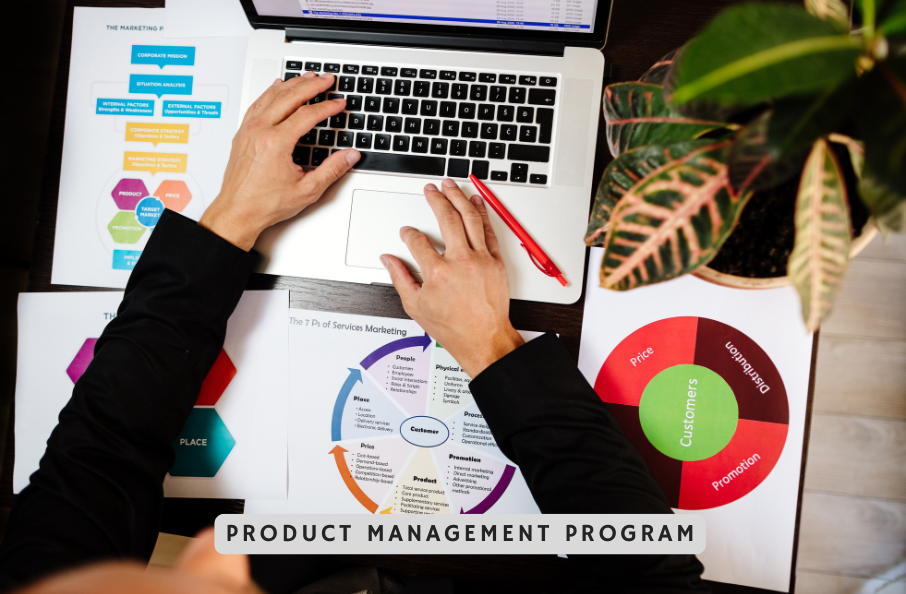
Exploring a career in Product Management? Apply Now!
The MVP is the perfect solution — it allows you to launch a simplified version of your product that delivers just enough value to your early users, while you collect feedback and iterate. The beauty of an MVP lies in its simplicity. By focusing only on the core features that address the user’s main problem, you can test your product’s viability in the market before you invest heavily.
So, how do you go about building an MVP? Here’s a step-by-step guide to help you navigate the process.
Step 1: Understand Your Product Vision
Before you dive into creating your MVP, take a step back and ask yourself: What problem is your product solving? Who is the target audience? What value will the product provide to the user?
Start by clearly defining the problem statement. Ask yourself questions like:
-
What pain points does the product address?
-
What are the primary features needed to solve these pain points?
Once you've defined the problem, create a vision for how your product will address it. This step is crucial because it helps you focus on the key features that will truly matter to your users and leave out unnecessary extras.
Step 2: Identify Core Features
Now that you understand your product’s vision, it’s time to identify the core features. These are the features that will allow you to test your value proposition with your target audience.
Keep in mind that an MVP isn’t about launching a fully-featured product. Instead, it’s about testing the core assumptions behind your product idea.
-
Focus on just enough features to solve the problem.
-
Include only those functionalities that allow you to collect valuable feedback.
For example, let’s say you’re building a fitness app. Instead of launching every workout type or tracking feature, focus on basic elements like activity tracking and goal setting. This will give you the most important feedback on how users engage with your core offering.
Step 3: Design Your MVP
Once you’ve identified the key features, it’s time to design your MVP. The goal is to create a simple, intuitive design that users can easily interact with.
Keep in mind:
-
A clean user interface (UI) and user-friendly experience (UX) are essential.
-
Don’t overcomplicate the design — the MVP should be functional but straightforward.
-
Focus on speed, performance, and usability to deliver immediate value to users.
Design a prototype of your MVP using tools like Figma, Sketch, or Adobe XD. This doesn’t need to be polished, but it should give you a good idea of how the product will function.
Step 4: Build the MVP
Now, it’s time to build the MVP itself. Choose the right tools and platforms for your MVP development. Often, startups opt for lean development techniques like using no-code tools or rapid prototyping to build MVPs quickly and cost-effectively.
-
Tech Stack: Choose tools that match the product’s needs, but keep the architecture simple. For instance, React or Flutter are good frameworks for building front-end MVPs quickly.
-
Back-End: If your MVP requires a back-end, focus on minimal integration with essential services, like database management or authentication.
Step 5: Test the MVP
Now that your MVP is built, it’s time for testing. This phase is critical because it helps you validate your assumptions and understand how users interact with the product. There are a few ways to go about testing your MVP:
-
Beta Testing: Release the MVP to a small group of users and collect feedback on their experience.
-
User Testing: Conduct usability tests to observe how users interact with your product and identify pain points.
-
A/B Testing: Test different versions of your MVP to see which features resonate more with your audience.
Step 6: Collect Feedback and Iterate
After testing your MVP, feedback is your most valuable asset. Use feedback from users to identify areas for improvement and iterate quickly.
-
Keep a close eye on feedback trends and look for repeated issues or suggestions.
-
Prioritize fixes and improvements that address the most critical issues.
-
Continue improving and adding features based on real user input.
The key to building a successful product is a constant feedback loop that ensures you're always refining and enhancing your MVP to meet user needs.
Step 7: Scale and Grow
Once you’ve validated your MVP and received feedback, it’s time to scale. This step is about building the product further, adding new features, and optimizing for broader user adoption. By this point, you’ll have a better understanding of what your users value most, and you can refine your product accordingly.
Conclusion: Building an MVP is Just the Beginning
Creating an MVP is not the end of the journey, but rather the first step in the process of building a product that truly meets user needs. By focusing on simplicity, gathering feedback, and iterating quickly, you increase your chances of creating a product that resonates with your audience and has the potential for success.
Remember, the goal of an MVP is to validate your ideas before fully committing resources. With this step-by-step framework, you’re well on your way to launching a product that has a strong foundation for growth. Keep testing, learning, and evolving, and your MVP will eventually turn into a successful product.
Dreaming of a Product Management Career? Start with Product Management Certificate with Jobaaj Learnings.