Categories


Deploying a full-stack application is an exciting and crucial step for any developer. In today’s world, the speed and simplicity of deployment are just as important as the functionality of the app itself. Whether you’re building an e-commerce platform, a social network, or a simple blog, deploying your application properly ensures that it can scale, remain accessible, and provide a seamless experience to users. Vercel, paired with MongoDB Atlas, is one of the most powerful and user-friendly combinations for deploying a full-stack application. Vercel offers hassle-free serverless deployment, while MongoDB Atlas provides a fully managed cloud database, making it an ideal pairing for developers who need speed, scalability, and reliability.
Exploring a career in Web Development? Apply now!
In this guide, we’ll walk you through the process of deploying a full-stack application using Vercel for the front-end and serverless back-end, and MongoDB Atlas for your database. We’ll break down each step so that whether you’re a beginner or have some experience with cloud technologies, you’ll feel confident deploying your app in no time.
Why Choose Vercel and MongoDB Atlas for Deployment?
When selecting platforms to deploy your full-stack application, Vercel and MongoDB Atlas stand out for their simplicity and powerful features. Vercel is designed for developers who want to deploy modern web applications with minimal configuration. It handles everything from build optimization to serverless functions, making it easy to deploy both static sites and dynamic applications. MongoDB Atlas, on the other hand, is a cloud-based database that offers high availability, automatic scaling, and robust security features. This combination lets you focus on writing the code for your app without worrying about the underlying infrastructure.
Vercel makes it incredibly easy to deploy your front-end and back-end with zero hassle. MongoDB Atlas provides a scalable and secure database solution, ensuring that your application can grow with your users. Together, these tools give you everything you need to create a seamless and efficient development and deployment pipeline.
Step 1: Setting Up MongoDB Atlas
Before deploying your application, you need to create a MongoDB Atlas cluster to handle your database. MongoDB Atlas is a fully managed database platform that allows you to scale your app’s database without worrying about infrastructure maintenance. Here's how you can set it up:
-
Create an Atlas Account: Visit the MongoDB Atlas website and sign up for an account. Once you're logged in, click on "Create Cluster." Atlas offers a free tier cluster, which is perfect for small apps or testing.
-
Choose Your Cloud Provider and Region: MongoDB Atlas supports multiple cloud providers, including AWS, Google Cloud, and Azure. Choose the cloud provider and region that best suits your needs.
-
Create a Database User: For secure database access, you’ll need to create a user with appropriate permissions. This user will have the credentials necessary to interact with your database from your application.
-
Whitelist Your IP Address: In the Atlas dashboard, you’ll need to whitelist your IP address to ensure your local machine or server can access the database. You can do this by navigating to the "Network Access" section and adding your IP address.
-
Get Your Connection String: Once your cluster is ready, you’ll need the MongoDB connection string to link your back-end to the database. The connection string will look something like this:
mongodb+srv://: @cluster0.mongodb.net/mydatabase?retryWrites=true&w=majority This string will be used in your server-side application to connect to the database.
Step 2: Set Up Your Full-Stack Application
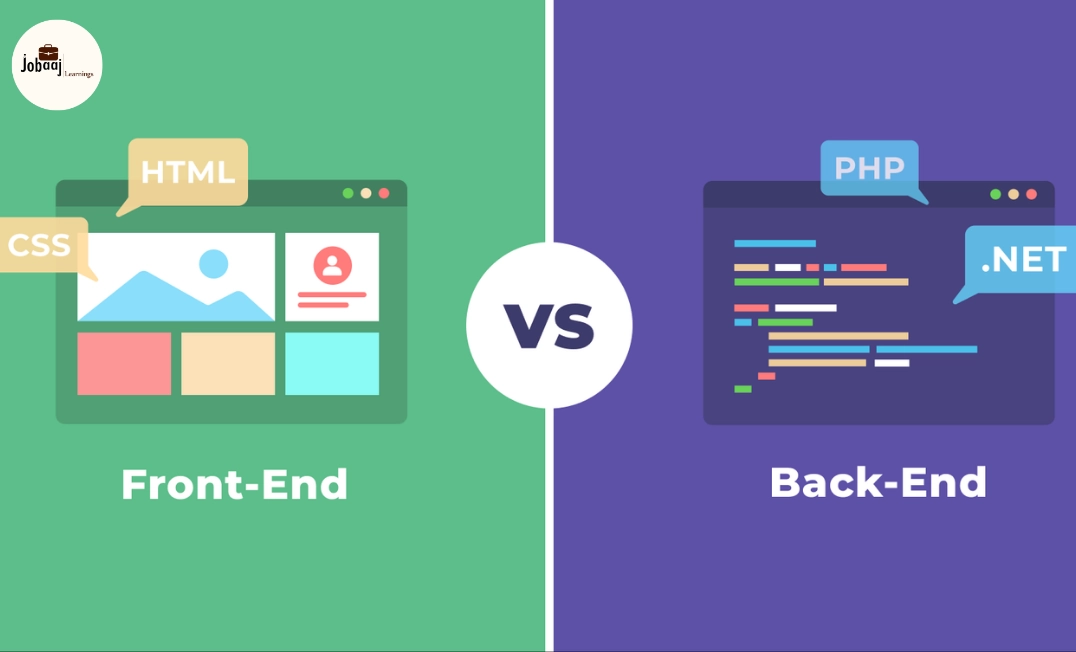
Now that you’ve set up your database, it’s time to prepare your full-stack application. Let’s assume you have a Node.js backend and a React front-end. Here’s a breakdown of the steps:
-
Create Your Back-End (Node.js with Express):
Start by building your back-end in Node.js using Express. Express is a minimal and flexible Node.js web application framework that will allow you to set up routes and API endpoints to interact with your database.In your server, you’ll need to import MongoDB’s Mongoose package to interact with MongoDB. Use your connection string to connect your Express server to MongoDB Atlas:
mongoose.connect(process.env.MONGODB_URI, { useNewUrlParser: true, useUnifiedTopology: true }); -
Set Up Your Front-End (React):
Your front-end will be built using React. React allows you to build dynamic and responsive user interfaces. You can use the fetch or axios library to send HTTP requests from your React app to the back-end API you set up with Express. -
Integrate the Two:
Ensure your back-end and front-end communicate by making requests from your React front-end to the back-end Express server. The back-end API will interact with the MongoDB Atlas database to store and retrieve data.
Step 3: Deploying Your Back-End with Vercel
-
Install Vercel CLI: Vercel makes deploying serverless applications easy with its command-line interface (CLI). To start, install the Vercel CLI on your machine:
npm install -g vercel -
Set Up Your Project for Vercel: Inside your back-end project folder, run:
vercelThis command will guide you through the setup and deployment process. Vercel will automatically detect that your app is built with Node.js and deploy it as a serverless function.
-
Set Environment Variables: You’ll need to set your MongoDB Atlas connection string and any other sensitive information as environment variables. You can add them through the Vercel dashboard under your project settings.
-
Deploy: After setting up everything, you can deploy your back-end by running:
vercel --prodOnce deployed, Vercel will provide you with a live URL for your back-end.
Step 4: Deploying Your Front-End with Vercel
Now, let’s deploy your React app:
-
Deploy the React App: In your React app’s directory, run the following command to deploy it:
vercelVercel automatically detects that it’s a React app and deploys it accordingly.
-
Configure the API URL: Make sure your React app is pointing to the live URL of your back-end API deployed on Vercel. This ensures that your app is making requests to the correct endpoint.
-
Deploy: Once everything is configured, you can deploy the front-end by running the following command:
vercel --prod
Step 5: Test Your Application
Once both the front-end and back-end are deployed, go ahead and test your application. Navigate to the front-end URL, which should be served by Vercel, and check if it communicates with the back-end and performs the expected actions. Ensure that the database is being accessed correctly via MongoDB Atlas.
Conclusion
Deploying a full-stack app with Vercel and MongoDB Atlas offers an excellent combination of speed, scalability, and ease of use. Vercel allows you to deploy both your front-end and serverless back-end quickly, while MongoDB Atlas provides a managed database solution that grows with your application. By following these simple steps, you can go from local development to production with ease, allowing you to focus on building and improving your app instead of worrying about the infrastructure.
With Vercel’s global deployment network and MongoDB Atlas’s reliable cloud database, your app will be ready to scale, perform seamlessly, and provide a great user experience no matter the load. So, if you're looking to deploy a full-stack application quickly, efficiently, and without the hassle, this powerful combination is your go-to solution.
Dreaming of a Web Development Career? Start with Web Development Certificate with Jobaaj Learnings.